How to Upload Photos in Matrix
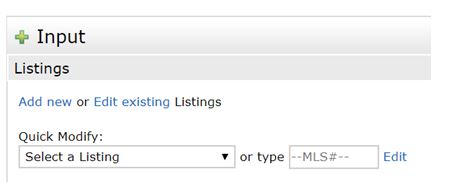
1.Click the “Input” tab.

2. Under “Quick Modify” select the listing from the drop down menu.
3. Click “Manage Photos”.
4. Click the “Browse” button and then go to the file your photos are saved in.
5. Click the first photo and then hold down your shift key, and then click the last photo in your file.
6. This will highlight the first, last and all photos in between you wish to upload. (Maximum is 50 photos.)
7. Click “Open”.
8. Your photos will automatically upload.
9. Should you require to change the order, drag and drop your photo in the new order. TIP: If you are using Google Chrome as your browser, zoom out (CTRL -) before dragging your photos.
10. Click the blue “Save” button.
How to Input Virtual Tours in Matrix
1. Click the “Input” tab.
2. Under “Quick Modify” select the listing from the drop down menu.
3. Click “Quick Edit Items – URLs, Map Pin, Remarks” link.
4. Scroll down to the “Additional Links” area.
5. Enter or paste in the URL for your virtual tour in the “unbranded” section.
6. Click the blue “Submit” button.
